Printing my illustrations on fabric to make a dress.
- Angela Datseri

- May 9, 2019
- 3 min read
Updated: Jan 1, 2020
I always wanted to do something related to fashion. During my studies at Plymouth College of art, I discovered my passion about design and I decided it was something I wanted to take forward.

I usually start by gathering inspiration from anywhere and creating mood boards, to get a clear idea of what I want to create. Having done my research at several clothing brands I admired and themes that appealed to me, I decided that I wanted to make a floral dress for Spring/Summer 2020.
This is when I met Rose Garcia, fashion designer, who I collaborated with and shared my ideas.


After choosing which design I wanted, I started painting different kinds of flowers and arranging them on Photoshop to create different patterns while I was also searching for places and methods I could print my final design on fabric.
To be able to have a better understanding of how each pattern would look on the dress, I used the file with the design of the dress that Rose Garcia made, as my template.

When I finished my design, I had to print some samples, to see what was working better. I chose to use the Mamaki Printer, as I was aiming to print on a very large scale.


Initially, the colours looked different from the original colours, but that was because the fabric needed to be washed to wash out the excess dye. I decided to wash the samples, as the fabric needed a specific way that it needed to be washed to avoid any colour smudges. This way, I would be more prepared for the final print.
I chose which one of the designs I would take forward, I made sure the final file was on the right size and ready to be printed. At this stage, I was communicating a lot with Rose Garcia, to make sure that we would print enough fabric for the dress.

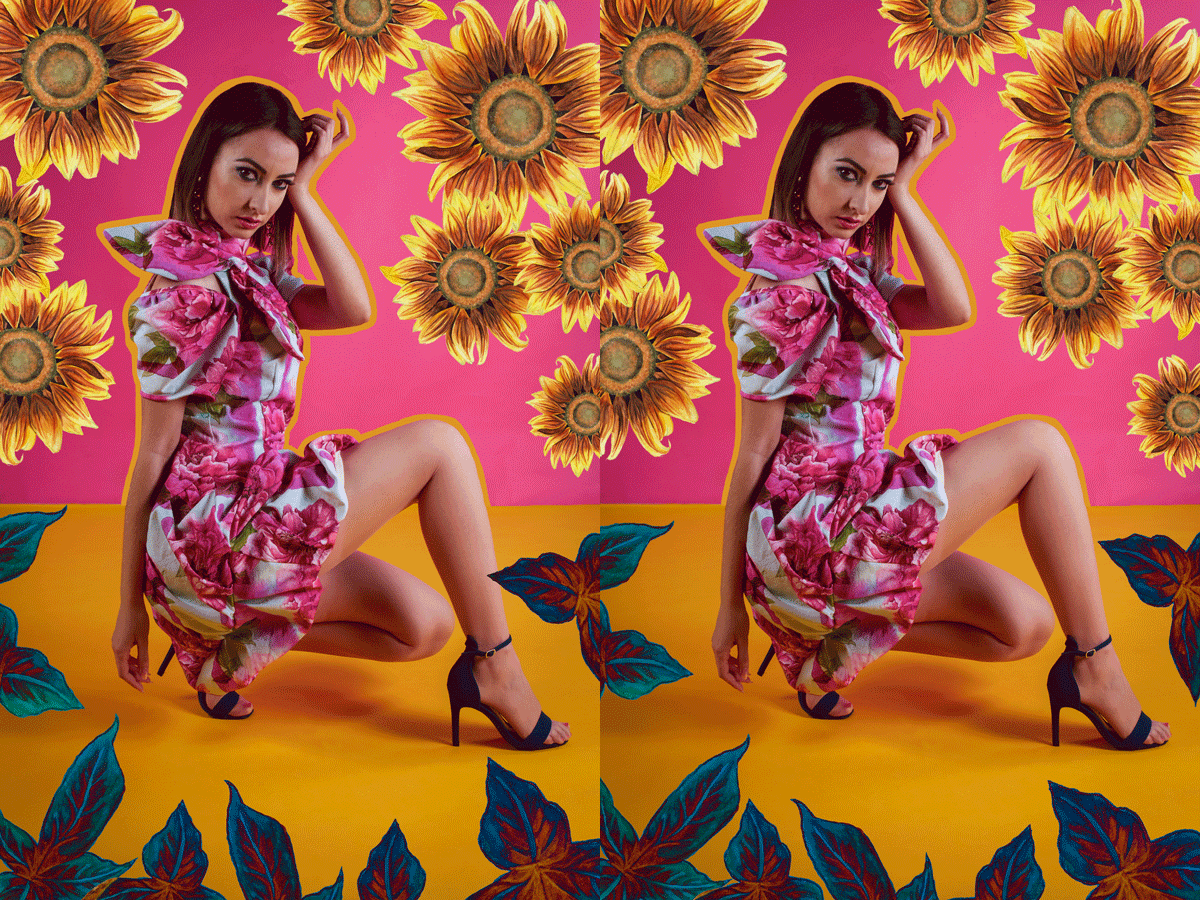
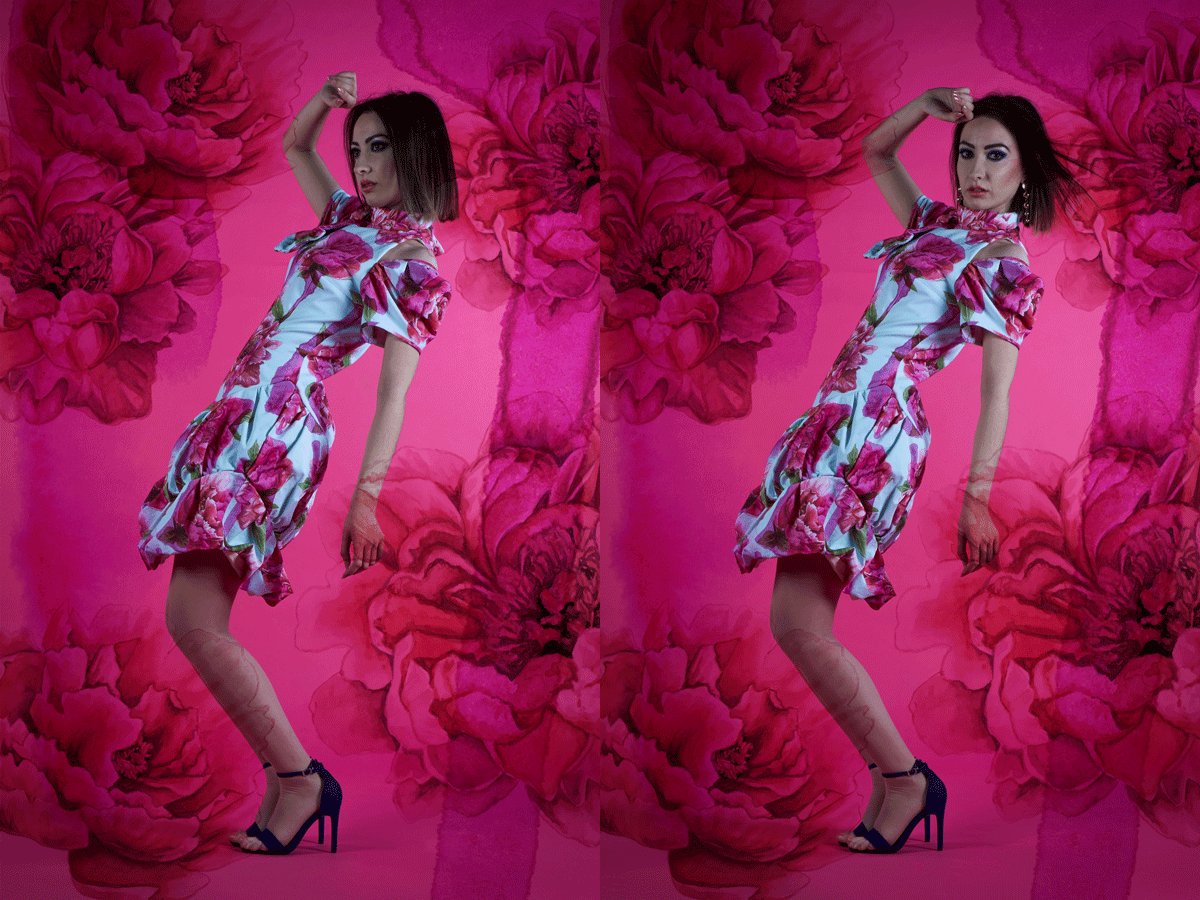
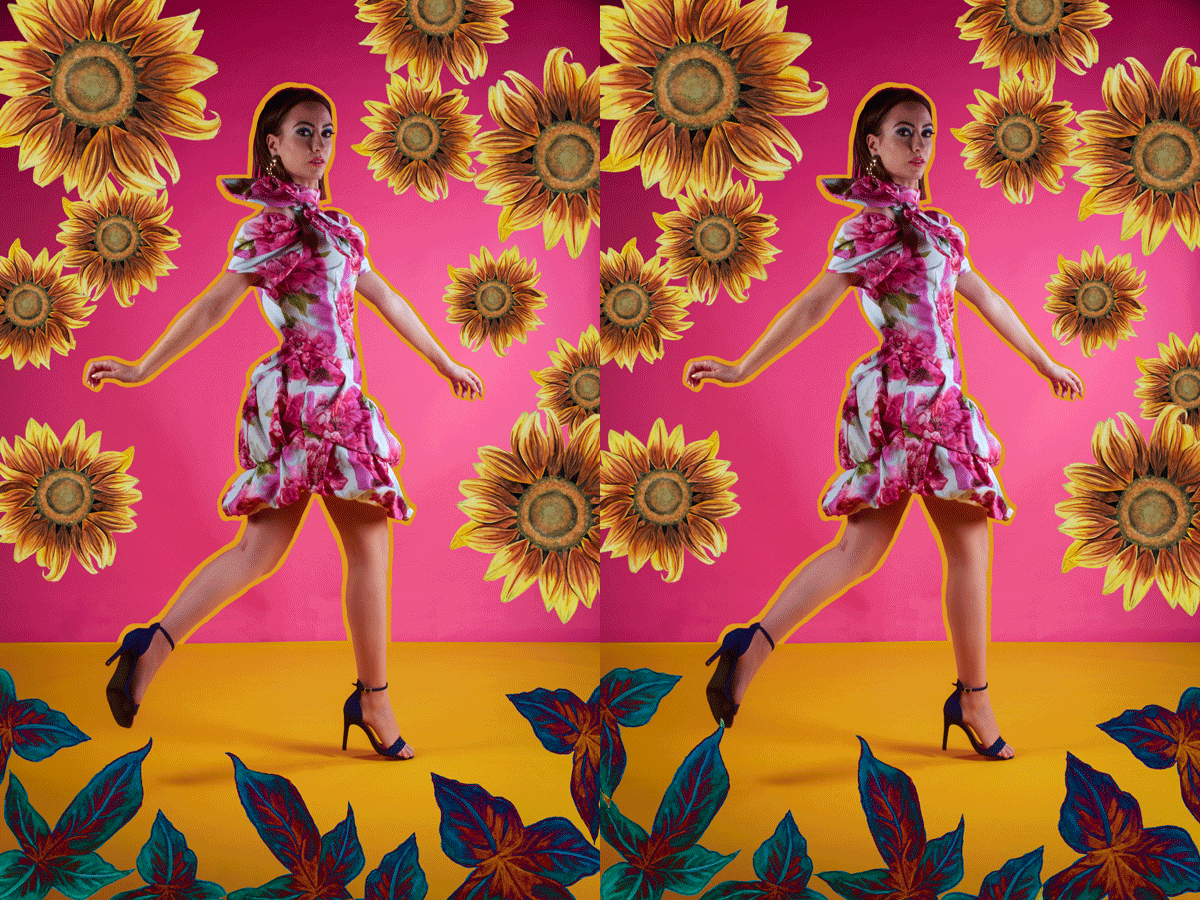
As the fabric was all set to go, I let Rose Garcia to work on it. In the meantime, I was looking for a photographer to have a photoshoot with it when it is done and a film maker to create a behind the scenes film of the photoshoot. This is when I met Mi Kelly, photographer. After we met and discussed about the photoshoot and my ideas, we decided it would be even better to do a studio and a location one. On the studio, I would be able to create a more editorial look of the dress and also edit the pictures adding illustrations on them and experiment, whereas in the location photoshoot, I would be able to show how someone would look wearing it in their normal life. Some of the images/gifs from the studio shoot:
Photogarpher: Mi Kelly, Assistant Photographer: Ben Glven-Fervour, Fashion Designer: Rose Garcia, Design/Pattern: Angela Datseri, Illustrations on Image: Angela Datseri, GIFS: Angela Datseri Behind the scenes film of the studio shoot:
Film: Joe Dunn and Luke Matthews
Images from the location shoot:
Photographer: Mi Kelly, Fashion Designer: Rose Garcia, Pattern/Design: Angela Datseri Overall, going through this whole project to make this dress, was such a valuable experience. I am glad that I decided to work on this project, to get out of my comfort zone, to explore my passion for design even further, to learn more about the process of printing on fabric, to develop my management skills and to create a team that would work well together. A huge thank you to everybody that made this project come true! Rose Garcia, Mi Kelly, Ben Glven - Fervour, Joe Dunn and Luke Matthews Their Instagram Accounts: Rose Garcia https://www.instagram.com/rgarcia_design/ Mi Kelly https://www.instagram.com/mikellyphotography/ Ben Glven - Fervour https://www.instagram.com/fervourphoto/
#illustrator #designer #repeatpattern #pattern #floralpattern #flowerillustrations #watercolourillustrations #fashion #printingonfabric #creatingadress #dress


Comments